VSFX 319 - Programming Models and Shaders
Renderman Slim Flame Shader
Project Summary:
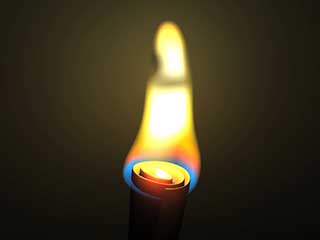
The purpose of this project was to write a surface shader that when used in conjunction with animated geometry would give the appearance of being an animated flame. As with previous assignments, the emphasis was on the vital need to carefully observe and document a natural phenomena in order to create a digital version of it.
Results:
Click on the image to the right to see the final animation.
UPDATE: Click here for the latest version of this shader including corrections and extended application.
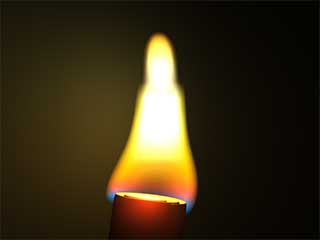
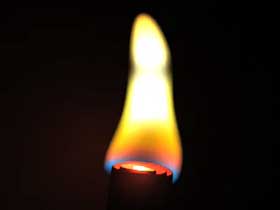
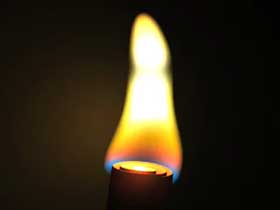
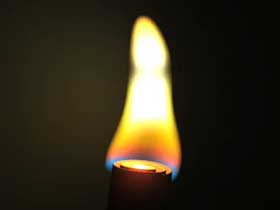
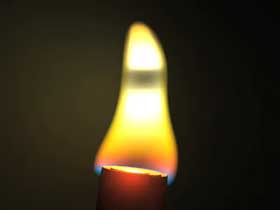
Reference Images
(Relax, it's just a roll of paper!) Click the last image to see a short reference movie.


Scene Setup
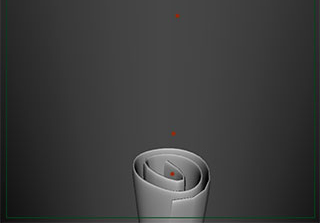
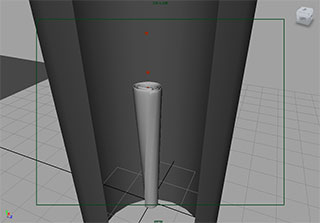
I used an extrusion of a pair of simple NURBs curves to model a rolled up piece of paper. To act as as a backstop for the light, I added a poly cylinder with it's normals reversed inwards. Three point lights sit within the flame body and are animated by expressions.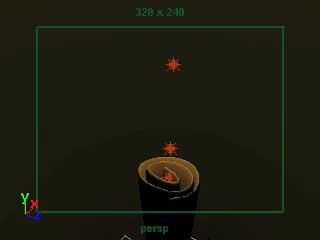
Light Animation
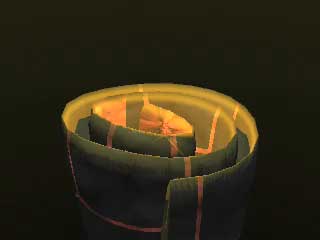
After much trial and error, I ended up with the expression below to drive the motion and intensity of the lights over time. The "clamp" function made sure that the brightness of each light stayed within a certain range, the "abs" function keeps the values positive, and I used the "noise" function for a fluctuation that was random but still cohesive. A simple "rand" fuction would have pulsed and popped between varying levels of brightness with no connection between them. This produced the same result for the movement, a smooth, resonating path rather than blinking from place to place. The test animation at right shows the results.
//upper lights control
pointLightShape2.intensity = `clamp .2 .8 (abs(noise(time*6)))`;
pointLight2.translateY = (noise(time*2)/4)+5.75;
pointLightShape1.intensity = `clamp .5 1 (abs(noise(time*8)))`;
pointLight1.translateY = (noise(time)/4)+4.8;
pointLightShape2.intensity = `clamp .2 .8 (abs(noise(time*6)))`;
pointLight2.translateY = (noise(time*2)/4)+5.75;
pointLightShape1.intensity = `clamp .5 1 (abs(noise(time*8)))`;
pointLight1.translateY = (noise(time)/4)+4.8;
Test Renders
So, the movement and intensity expressions really work fantastically but the shadows are completely breaking down. As you can see at the right I'm getting strange seams in the lighting that make the paper look like it's made of magma. Hair-pulling continues.REVAMP!!
Alright, so all that stuff I just went over? Well, as I write this it is almost two weeks later and after some more hair-pulling, violent thoughts about a monitor, and some serious self-degradation I've decided to rework parts of the scene and the entire shader. The old way just wasn't looking right to me and I'm not ok with that. I struggled for literally hours on end trying to wrap my head around the code. A friend who had already tackled the assignment even gave me his code to study and tweak to use for my shader. He went over it with me and I understood it.But ultimately I couldn't replicate it and I don't want to be handed the answer like that. So, rather than waste any more time with the code I decided to try my way with Slim. I ended up building the entire shader in Slim, not without some difficulty born of learning the program and its syntax of course. Ultimately I am very pleased with the result; It's not perfect but for a first go it's definitely not bad. What follows is the breakdown for the process from this point on.
Light Movement
As I worked on the shader I gradually adjusted the movement and changes of intensity for the lights, playing one off the other until they looked right together. Below you will find the Maya expressions used to drive them.
//light movement and intensity
//light at top of paper roll, it does not move
pointLightShape3.intensity = `clamp .2 .4 (abs(noise(time)))`;
//The time modifier affects the speed, the noise/time modifer affects amount of change in position,
//and the added constant displaces the whole movement upwards to the top of the roll
pointLightShape2.intensity = `clamp .6 1 (abs(noise(time*8)))`;
pointLight2.translateY = (noise(time*2)/4)+5.75;
pointLightShape1.intensity = `clamp .5 .7 (abs(noise(time*4)))`;
pointLight1.translateY = (noise(time)/6)+4.8;
Cluster Movement
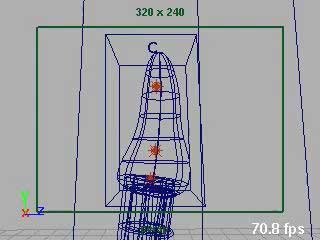
I modeled the flame shape from a simple NURBs sphere and then applied a lattice to deform it in the Y and Z axes. The top 4 points of the lattice were grouped under a cluster and I used the expression below to drive it's movement. I gradually tweaked the speed and displacement to arrive at these values. The playblast at the right shows the changes made to the scene thus far including the reworked light and cluster movement. Light intensity changes will be more apparent in following renders.
//Again, the time modifier affects the speed of the animation and
//the noise/time modifier affects the distance it is displaced.
cluster2Handle.translateZ = noise(time*2)/5;
cluster2Handle.translateY = noise(time*3)/4.5;
//the noise/time modifier affects the distance it is displaced.
cluster2Handle.translateZ = noise(time*2)/5;
cluster2Handle.translateY = noise(time*3)/4.5;
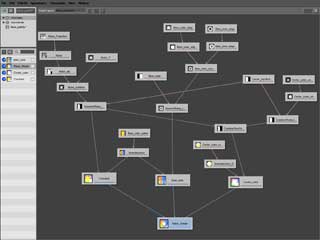
Slim Node Tree
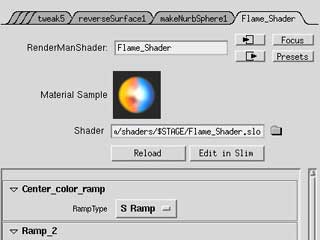
The heart and soul of this project was my love/hate relationship with Slim, Renderman's equivalent to Maya's Hypershade. Equally, and parodoxically, as unforgiving as it is rewarding it became my saving grace because it enabled me to build the shader in a visual way. The tricky part became figuring out what the nodes did and which were the proper ones to use.The shader was built in three layers. The base layer carried the color spline and alpha information for the main body of the flame, the next layer above was a variation of the base with the alpha modified to use a noise function. By piping a projection space into the noise I was able to animate it over time. The base layer and noise layer shared identical ramps modifying their overall alpha with the black and white values reversed. This way the base layer would be visible at the bottom of the flame without interfering with the animated noise layer that filled in the top of the flame. Above both those layers was a third that builds the glowing, white-hot center of the flame. This also shared an alpha modifier with the noise layer so that both would animate the same way. Click on the images above right to see my finished node tree and the attributes that are transfered thru to Maya.
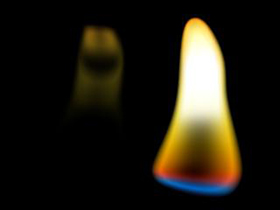 After building the base and center fill layers the shader still didn't flicker and break the way my reference flame did.
It took alot of trial and error to figure out the right sequence of nodes to get the alphas to work together properly.
Click on the image at left to see a series of images showing how
the flame tip evolved over time. The first image shows the main body of the shader; on the left is the kind of noise that
I was trying to incorporate. The rest show the various iterations of how the alpha interacted with the main body. Some
worked better than others and all circled the right look but lacked one or two minor details. I'm very picky so it took a
long, LONG time to get it right.
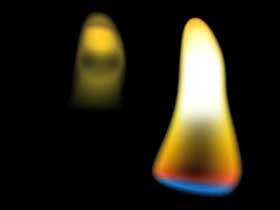
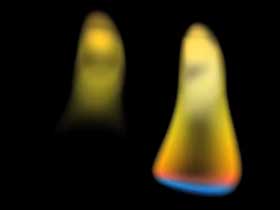
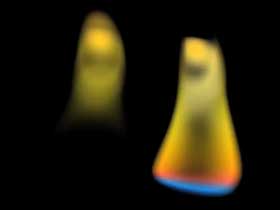
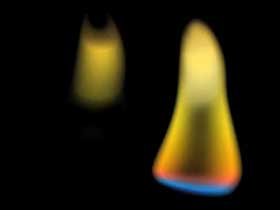
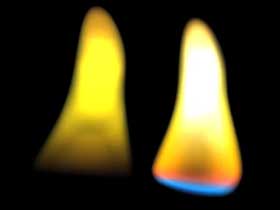
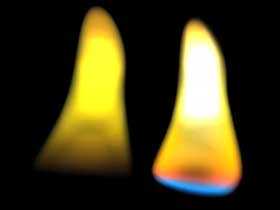
Now for a series of short clips showing how the animation evolved over time. As previously mentioned I piped a projection space, in Slim, into the noise coordinates, allowing me to animate it over time. On the right in the first image you see the main body of the shader without animation. to it's left is roughly what I'm trying to add in. These show a rough progression of the animation and the additive properties of the alphas. Click on the images below to see the clips.
Onward and upward to combining the flame animation with the scene and lights and getting the two to match up as best I can. This became a slow process of tweaking and re-rendering test after test until things came together. Below are three preliminary movies showing the lights being added to the scene. On the left is the light at the top of the roll of paper only, this provided the main translucency glow thru the paper and the bright ember coloring. The second clip shows the mid-level light added in. It sits in the orange area of the flame and moves in Y only slightly. The clip on the right shows the effects of all three lights including the tip light. It is the brightest and varies the most in both Y-translate and intensity. Click on the images to see the clips.
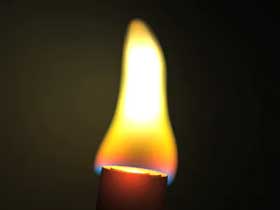 And yet more testing and tweaking. The clips at right show the adjustments made to the cluster movement and speed and
the light movement, speed, and intensity. Also, I played around with the settings of the projection for the noise,
in particularly the rotate values. I tried variations on modulating the rotation over time both thru key frames
and expressions but none quite came out correctly. Some of them gave the flame a strange spinnging feeling at its
core so I ultimately settled on a set value that skewed the translation of the T-coords just enough to make it
a little more natural.
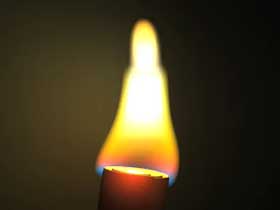
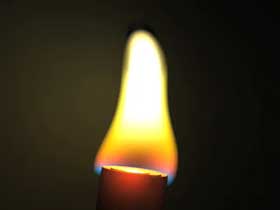 It should be noted that throughout the process the tweaks have gotten smaller and more detailed-oriented as I hone
in on the correct look and feel. Therefore the differences between these clips may not be blatantly obvious though
I assure you there are important differences, particularly in the overall speed of the flame. It was vital to get
that right or else the whole thing would break down. I do however still feel that they are valuable to the overall
process hence why I have included them, ad nauseam, here.
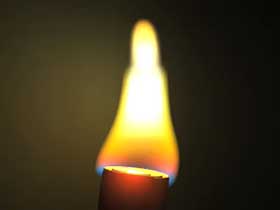
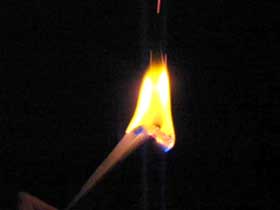 And so, without further ado we come to a comparison between my original reference footage and the shader animation.
Though it's not perfect and, as with any project, could use more tweaking I am extremely happy with the results overall.
The animation of the flame body feels natural and organic and the movement of the alpha breaks the flame up in a pleasing way.
Final Render and Alternate Angle
While running final renders I noticed a strange artifact that, at the time, I could not explain. At points in the animation when the noise "eats thru" the flame and creates holes to the background it doesn't go completely transparent. Instead that section of the flame takes on a partially transparent black. I can't find a reason for this but hopefully with further tweaking I could get rid of it. This alternate angle shows it more clearly because the body of the flame is over the lighter portion of the backdrop.UPDATE: Further investigation and adjustments to the shader revealed the problem causing the dark spots. For the full breakdown and further information see the Flame Shader v.2 section.

